Wednesday, September 14, 2011

Drill Press Accessaries and Secrets

What we will do in this section:
  • Examine an older 10" Craftman drill press for problems
  • Add a keyless chuck
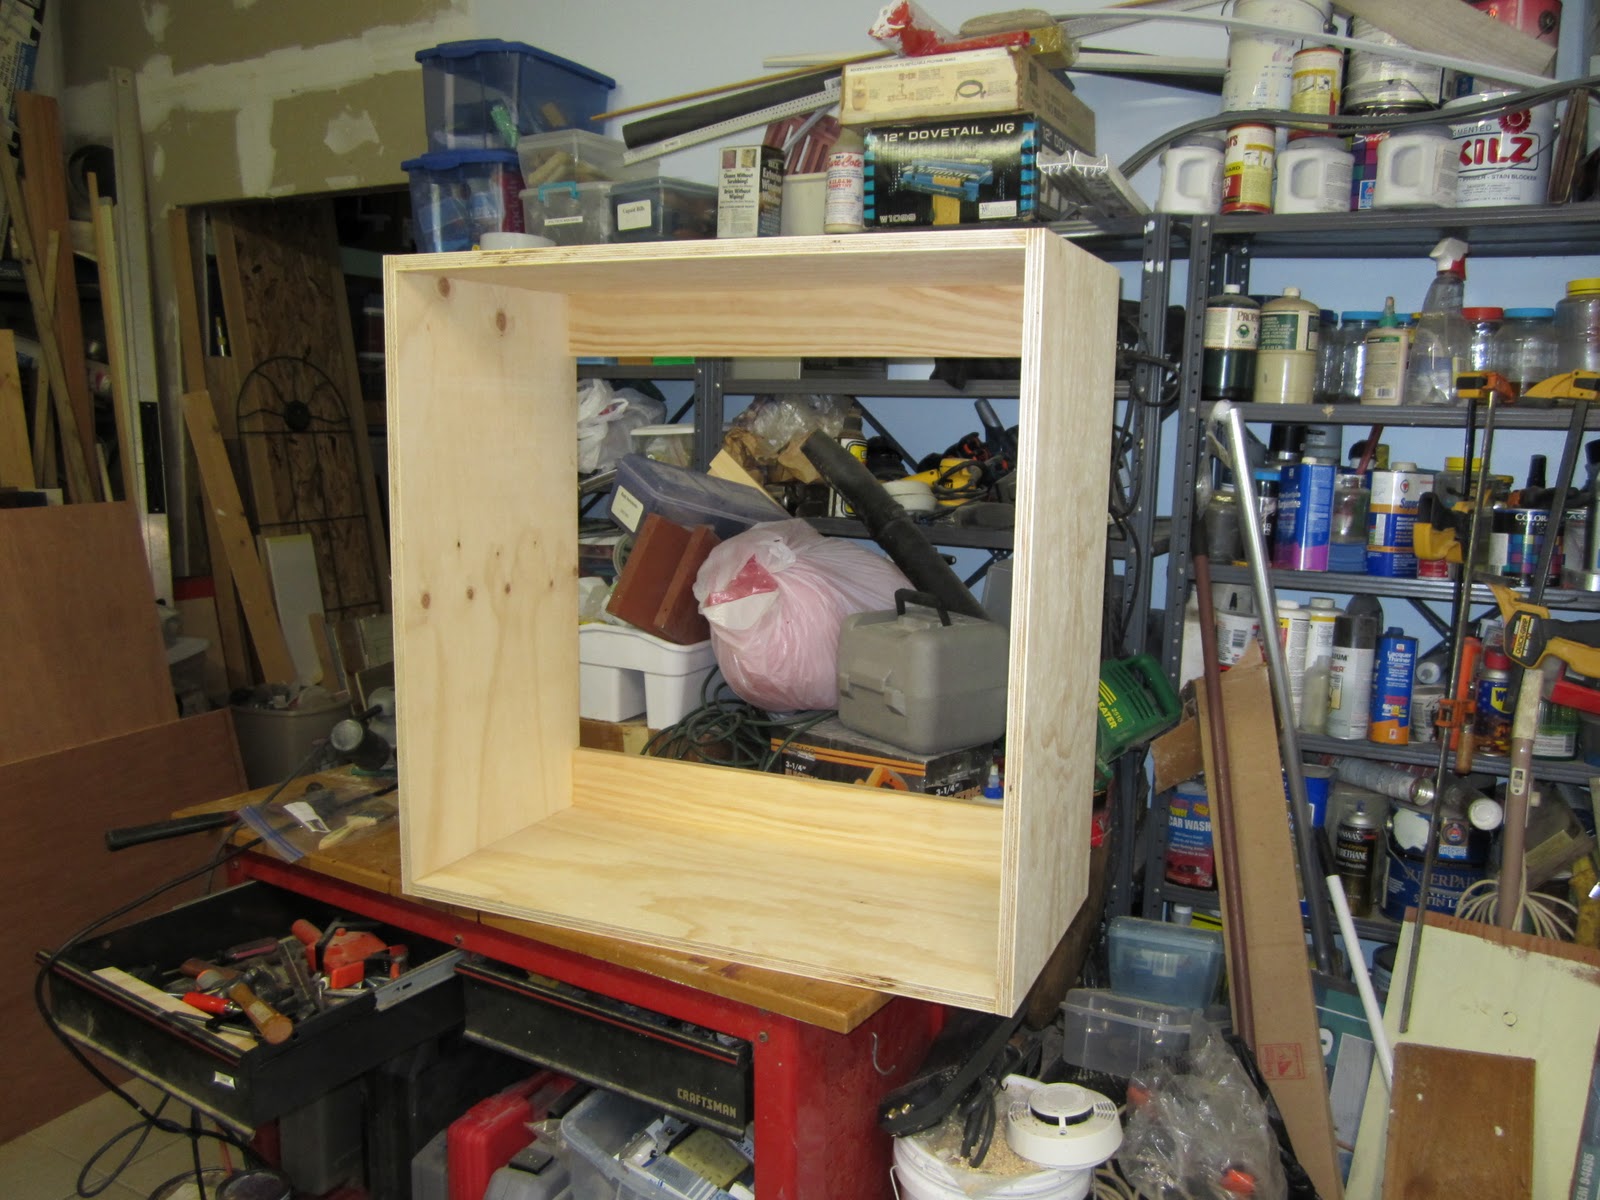
  • Build a drill press table

Drill Press Secrets

A good drill press with a table will make building the CNC router easier. This means drilling holes at ninety degrees to the surface, the right size and in the right place, but with a lot less frustration. What follows is a discussion of the features of a good drill press that can be used to improving yours or buy one.

First, take a look at the excellent article by Grant Erwin, http://www.tinyisland.com/htbdrillp.txt, on how to buy a drill press and can also be used to examine your drill press to see how it stacks up. I have a Craftman 10" drill press that I bought several years ago which I need to examine, closely. Before we start that, here are two other articles worth looking at: http://www.victornet.com/reference/Drill_Chuck_Mounting.html and http://www.jacobschuck.com/drill-chuck-install.asp.

What is Runout?

Runout is the wobble at the drill bit. Most bench top drill presses come with cheap chucks which are probably the biggest source of runout. To measure runout you will need a dial indicator and some way to hold the indicator. First, chuck up a dowel pin and place the indicator against the shaft. A Forstner or a starter bit will also work. Rotate the chuck by hand and read the extremes of the indicator measurement. If this indicates there is .003" or more runout, then place the indicator against the chuck itself. If the runout there is less that .002" then the jaws of the chuck are bad. If the runout at the chuck is bad then remove the chuck and check the spindle taper in the same way. If that checks good, buy a new chuck. A good quality drill press will have less than .002" runout at the bit. If the runout at the taper is greater than .002", you will need a new drill press.

I have an old 10" swing, Craftman drill press and there is visible runout.  I will measure the bit, chuck and taper runout of this press and post the pictures here. The measured runout at the Forstner bit shaft is .013", at the chuck it is .002" and at the taper less than .001". Apparently, the jaws themselves are damage or worn.

Drill press with chuck removed. Drifts sitting on chuck.


Indicator against forstner bit.

Indicator against chuck body.

Indicator against taper JT33 taper.

 The chuck is held onto a JT33 taper with a screw up inside the jaw which I removed  Attempts to dislodge the jaw have failed. A chuck removal drift set has been ordered from Wholesale Tools and will arrive Friday along with a keyless chuck and a wiggler. The drift consists of two U shaped pieces of tapered steel. If you have a large bench or a floor drill press, the jaw is probably mounted on an arbor made up of a JT33 and a Morse MT2 tapers. To remove the arbor you will need a MT2 drift.

Before the new chuck was installed, the taper both on the drill press and the chuck were cleaned with low odor mineral spirits. The new keyless chuck was placed, lightly, onto the JT33 taper and pushed up hard. Making sure that the chuck jaws are inside the chuck, I placed a piece of wood against the bottom of the chuck and struck upwards  with a hammer, a couple of good raps. This chuck does not use a screw, as the old chuck did, so if the chuck isn't well seated it will fall off. The picture shows the chuck in place. Measured runout is now .001".

Keyless chick in place.

More coming

Sources: Harbor Freight, Wholesale Tools, Victor Machine Exchange

Making a Drill Press Table:

Though you could build the CNC Router without a drill press table, it will make aligning and drilling the holes in the project parts easier. Besides it is a useful rig to have in a woodworking shop.

A bench top drill press with a 10 inch swing, where the swing is twice the distance from the post to the drill bit, should be acceptable. Most of the readily available bench drill presses have problems which you will find by reading the reviews. The important points of precision are runout and perpendicularity where runout is the wobble at the chuck. This wobble will result in an oversize hole being drilled which would allow the precision rod of the CNC router to wobble. Perpendicularity can be adjusted using shims under the drill press table.

The drill press table is a very handy woodworking accessory and is typically 12" by 24" with an adjustable fence. See the picture below. This table was made by laminating two sheets of 1/2" and 3/4" MDF with wood glue. Two aluminum T-Tracks which are 14" apart and 11 3/4" long were purchased from Amazon. These tracks use 1/4" hex head bolts to position the fence and clamp work pieces in position. The fence shown here is 2" high and is made by laminating a 3/4" birch plywood to 1/2" MDF. Two 9/32" holes are drilled vertically through the fence 14" apart. 3" hex bolts with knobs hold the fence in place. This table is bolted to the drill press table with 1/4" carriage bolts. Two coats of Zinnser Sealcoat is used to seal the table. Sealcoat is not water based and will not raise the surface of the MDF.

Drill press table with simple fence.


This table was built 13" wide and is the reason the T-Track  appears to be short.

List of Materials:
  1.  MDF, Homedepot
  2. Poplar edging, HomeDepot or Lowes
  3. T-Track, Amazon from Router Table Depot, $8.25 pair
  4. Knobs, Incra Build-It set, Amazon, $10.99
  5. Additional Hardware, Lowes or HomeDepot
The cost of the basic table is about $25.

An additional fence is in the work which is 4" high and incorporates a Incra T-Track Plus that includes a sliding scale, $14. at Amazon. The adjustable stop is from Peachtree, $7. This will be pictured once completed.

Making a Router Table Top

A router table is not a necessary tool for building the CNC router, but I have wanted one for a long time and now is the time to build it. This is a standard size table, 32" by 24" and includes a 4" fence. Here are the steps.

Drawing of Router Top

Step by Step
  1. The surface is made like the drill press table. Start by layering a 1/2" MDF and 3/4" MDF sheets 33" by 24". Using weights and clamps, glue them together with wood glue. Spread the glue evenly with a plastic joint compound knife. Take the time to align the 24" width maybe even using some clamps. Don't worry about the 32" length since that will be trimmed to length. If you are using wider pieces of MDF say 25" by 33" then don't worry about getting the side perfectly aligned.
  2. Using a table saw or hand saw with a  guide, cut the width to 24", if you have used 25". Using a table saw sled or hand saw with a guide, cut the length to 32". Make sure you get it square.
  3. At this point you can bond Formica to the surface with contact cement. Since this material is expensive ($50. 4 by 8 sheet, Lowe's), I opted not to use it, but coated it with oil based urethane instead. To make the surface slick, I use a few drops of  DuPont 4 Oz. Non-Stick Lubricant and polish it in.
  4. Edge the table with poplar or oak and round over with a 1/8" round-over router bit.
  5. Sand the edges and the MDF (lightly), then coat all surfaces with Sealcoat by Zinnser.
  6. Make a template for the router plate. Start by cutting 16" lengths of 3/4" by 2 1/2" (1 by 3) straight fir or poplar.
  7. Place the router plate on a flat surface and the place the 16" pieces as shown in the picture below. Insert some thin cardboard between the plate edge and the wood as shims. I used cardboard from a toothpaste box. Shimming the template like this will ensure that the routed inset will be a little larger that the router plate. If you do not do this, the plate will not fit into the hole cut into the table. Now use (Kreg) pocket screws to assemble template. See finished template.
  8. Clamp the template to the table as shown. Now, set  a 1/2" by 1/2" pattern router bit to a depth equal to the thickness of the template plus the router plate edge. The template bit is 1/2" diameter with 1/2" blades and has a 1/2" bearing above the bit so that it rides along the plate template. Notice that the plate is in the very center of the table.
  9. After routing the groove, drill a 1/4" hole at the corner and cut the center out with a jig saw leaving a 3/8" lip.
  10. Using the jig shown below, cut the rabbits for the T-track and miter track. Make multiple pass increasing the depth 1/16" on each pass. If you don't do this, the bit may wander. Remember to wear a sanding mask. MDF dust ain't friendly stuff. The T-track groove is 1/2" deep by 3/4" wide and the miter channel is 1 1/8" wide by 1/2" deep. See drawing for length demensions.
Completed router plate template clamped in place.

Routed plate lip. Jigsaw used to cut out center.

Center removed leaving 3/8" lip.

Jig for routing miter and T-track slots

Incra miter channel
Incra T-track
Completed router table
BOM
  1. Qty 1   3/4" x 2' x 4' MDF   HomeDepot
  2. Qty 1   1/2" x 2' x 4' MDF   HomeDepot
  3. Qty 1   1/4" x 6" Oak           Lowes
  4. Qty 1   Rousseau router plate 3509 with snuggers,   Amazon
  5. Qty 1   24" inch T-track  Incra TTRACKREG24,  Amazon
  6. Qty 1   32" Miter channel Incra,   Amazon
  7. Qty 1   4 oz  DuPont Non-Stick Lubricant
    Tools:
    1. Table saw
    2. Jig saw
    3. Router
    4. Router bit, MCLS #6509, 1/2" pattern bit
    5. Router bit, round over 1/8" MCLS #6350

    Shop Filter Blower

    Filter blower is 12"x24"x30"

    I received a filter blower kit from PennState in 2006 as a present and it has been sitting on a shelf in my shop ever since. PennState no longer sells this kit, but does sell a complete unit for $299. plus shipping as the AC620. Because I have recently been working with MDF, I decided it was time to build the kit. (Note: This filter does not eliminate the need for a face mask will working with MDF.)

    Since the kit is no longer available, this project is presented as a complete construction project with a full set of parts which can be purchased thru Grainger, PennState and other vendors. The cost of this project should be around $200 with the biggest cost being the blower ($90 to $120).  Check the surplus houses using Goggle for possible substitutes. I found the Dayton 1TDR9 on Amazon for $120. delivered.

    MDF produces a fine dust during routing, cutting and sanding requiring the use of a filter mask. The dust particles generated are about the same size as when sanding pine; however, MDF contains formaldehyde. Some of the particles created are sub-micron which can stay airborne for many hours and can be inhaled and imbedded in lung tissue. If you will be working with MDF the bag filter used in this project should be a MERV 14 such as the Grainger, 6B660. The PennState came with a MERV 12 filter which will not extract sub-micron particles from the air.

    Filters are rated based on their ability to remove particulates from the air. The American Society of Heating, Refrigerating and Air-Conditioning Engineers has defined the MERV rating system for filters. A HEPA filter in this chart corresponds to a MERV 15 or better. For our purposes we have chosen a MERV 12 as a prefilter and a MERV 14 as the post filter. This combination should do a good job of sweeping the shop air of unwanted particles at a reasonable cost ($50.) which will be good for us and finishing projects. Remember as the prefilter loads up the back pressure on the fan will increase lowing the CFM  and increase sweep time.

    If you have a small shop and do not which to build this project you might investigate Shop Fox W1746 which can be purchased thru Amazon for $100. This unit claims to remove 0.3 micron particles and has 200 cfm air flow which should cycle a 10ft by 10ft shop every 5 min.

    If you like quiet in your shop when you are not running tools, then this is probably not the filter blower for you, since the squirrel cage blower is noisy. A better design would use a reverse impeller fan such as the EBM R2E220-AA44-23 and sounds like a great project for the future.

    Finally, before we start building, if all this information about sub-micron particles and lung damage has you freaked out, then you might be interested in a low cost particle counter, the Dylos DC1100 PRO with PC interface for $290.

    BOM:

    Wood
    1. 2 pieces 1/2" plywood 30" x 23 7/8"
    2. 2 pieces 1/2" plywood 30" x 12 7/8"
    3. 1 pieces 1/2" plywood 23 11/16" x 11 11/18"
    4. 4 pieces 3/4" x 3/4" poplar, 25 3/8"
    5. 4 pieces 3/4" x 3/4" poplar, 10 1/4"
    6. 4 pieces 3/4" x 3/4" poplar, 23 3/4"
    Parts
    1. Blower: Dayton 1TDR9
    2. Bag filter: Grainger 6B677 or Pennstate Ind. AC655
    3. Pre filter: Pennstate Ind. ACPF, (24" x 12" x 1/2")
    4. Electrostatic: Pennstate Ind. ACES1224
    5. Switch: Mouser # 540-SRB22A2FBBNN
    6. Power Entry Module: Mouser # 562-723W-X2/03
    7. Wire: 18 gauge hookup
    Alternate Filter
    1. Pre filter: 24" x 12" x 1" ( Lowes, etc.). Use this filter with bag filter. A standard filter should be about 23 1/2" x 11 1/2" x 3/4". The opening in the box is 23 7/8" x 11 7/8" using 1/2" plywood. 
    Plywood: For this project I am using Sandeply from HomeDepot, but birch will also work. I had HomeDepot cut a 4' x 8' sheet of 1/2" Sandeply into three pieces, two being 31" x 48". By the way, Sandeply is not 1/2" thick, but 15/32".

    Construction Steps:

    1. Cut all the plywood panels to size.
    2. On the inside of each panel, mark the positions of the 3/4 x/3/4 cleats. The cleats for the filters are positioned 2" from one end and the fan plate cleat, 5/8" from the other end.
    3. Rather than use clamps and glue to assemble the box, I used Kreg micro block and pocket screws with glue. In the photo below, you can see that one of the box sides is held vertical using the jig shown. Wax paper was used on the bench surface to prevent the pieces from bonding to the bench.
    4. Once the box is assembled, glue the cleats in place.
    5. Using a router with a 1/2" end mill cut the holes in the fan end plate. To accomplish this a template was made using scrap lumber and Kreg pocket screws. See photo.
    6. Once the holes are cut in the fan plate, drill all the mounting holes.

      Construction photo set:

      Dayton 1TDR9 Blower

      Inside view  of box side panel where lines indicate position of cleats.


      Jig for holding the box side in place. Wax paper on bench surface.


      Shows pocket screw for assembling and gluing sides.


      Gluing filter cleats in place.


      Struts used to hold corner cleats in place during gluing.

      Template for routing fan hole

      Switch plate milled on Sherline

      Fan and switch plate mounted and wired

      Fan mounted in box

      Shop Wall Cabinets

      These cabinets are based on a design from Kreg which uses pocket screws and glue for assembly (www.kregtool.com/images/icons/wall_cabinet_1.pdf). Since I like plastic pencil boxes for small parts and tools and plastic shoe boxes for larger parts, cabinet depths of 11 1/2" and 16" were used. For the shallower cabinet to fit between the shop windows a 29" width was used and since the wall studs in the shop are on 16" centers the remaining cabinets have a 32" width. The height of 32" was chosen so that two cabinets would fit on a 4' x 8' plywood sheet with the remainder of the sheet used for cleats and shelves. The plywood sheet was cut by HD into three pieces two being 32 1/2" in width, making car transportation easier.

      First cabinet mounted between front windows.
      Front of shop showing cabinets
      Large wall cabinets, 32" x 32" and 32" x 24"

      The basic structure of the cabinet is shown in the picture below. A rear view in the construction set below shows the pocket holes on the cleats. The other pocket holes in the design are on the top and bottom surfaces. The plywood used had one side clear and sanded and this surface was used on all visible areas such as the side exteriors.

      Cabinet basic structure
      1/2" poplar cut to 3/4" width was used as front edging of the cabinet walls and attached with glue and brad nails. The backs are covered with 1/4" plywood and attached with 1/2" crown staples. Doors, which will be added later, will be made of 1/2" birch plywood and mounted with overlay partial wrap hinges.

      When I started the project HD had just received special order cabinet grade 3/4" plywood for $28. a sheet. I bought one sheet and built a prototype 11 1/2" deep cabinet. The sheet turned out to be reasonable flat and had very few voids, so I bought four more sheets which should give me eight cabinets. I should have bought more, but I don't have the storage space.

      BOM

      Small Cabinet:
      1. 2 pieces 27 1/2" by 10 1/2", 3/4" plywood
      2. 2 pieces 32" by 10 1/2", 3/4" plywood
      3. 2 pieces 27 1/2" by 3 1/2", 3/4" poplar
      4. 1 piece 32" by 29", 1/4" plywood
      5. 2 pieces 29" by 3/4", poplar
      6. 2 pieces 30 1/2" by 3/4", poplar
      Large Cabinet:
      1. 2 pieces 30 1/2" by 15 1/2", 3/4" plywood
      2. 2 pieces 32" by 15 1/2", 3/4" plywood
      3. 2 pieces 30 1/2" by 3 1/2", 3/4" poplar
      4. 1 piece 32" by 32", 1/4" plywood
      5. 2 pieces 32" by 3/4", poplar
      6. 2 pieces 30 1/2" by 3/4", poplar
      Step by Step Construction
        1. Make long cuts for sides, top and bottom 1/4" oversize, then trim to size
        2. Use a table saw sled to cut ends to length, see sled project.
        3. Drill pocket holes in top (above) and bottom (underneath) pieces. Holes not visible inside cabinet.
        4. Screw and glue pieces together. Use squaring blocks while glue is setting.
        5. Cut cleats to size and drill pocket holes
        6. Screw and glue cleats in place
        7. Cut 1/2" poplar to 3/4" width
        8. Glue and nail poplar to front edge of cabinet.
        9. Sand cabinet, including front edge
        10. Round over all cabinet edges using a router and 1/8" round over bit
        11. Sand all edges lightly
        12. Seal all surfaces with Bulls Eye SealCoat
        13. Drill holes for 1/4" shelf pins, I used Rockler jig.
        14. Cut and nail back in place using 1/4" by 1/2" crown staples
        15. Cut shelves from plywood, round over edges and sand
        16. Paint surfaces if desired
        17. Cut doors from 1/2" birch plywood

          Construction Photos

          Sled used to cut sides to length
          Pocket holes drilled in top and bottom
          Top being glued and screwed to side
          Squaring blocks.
          Back of cabinet showing top and bottom cleats
          Heavy duty draws for wall cabinets.

          One draw loaded with nails.