These cabinets are based on a design from Kreg which uses pocket screws and glue for assembly (
www.kregtool.com/images/icons/wall_cabinet_1.pdf). Since I like plastic pencil boxes for small parts and tools and plastic shoe boxes for larger parts, cabinet depths of 11 1/2" and 16" were used. For the shallower cabinet to fit between the shop windows a 29" width was used and since the wall studs in the shop are on 16" centers the remaining cabinets have a 32" width. The height of 32" was chosen so that two cabinets would fit on a 4' x 8' plywood sheet with the remainder of the sheet used for cleats and shelves. The plywood sheet was cut by HD into three pieces two being 32 1/2" in width, making car transportation easier.
 |
| First cabinet mounted between front windows. |
 |
| Front of shop showing cabinets |
 |
| Large wall cabinets, 32" x 32" and 32" x 24" |
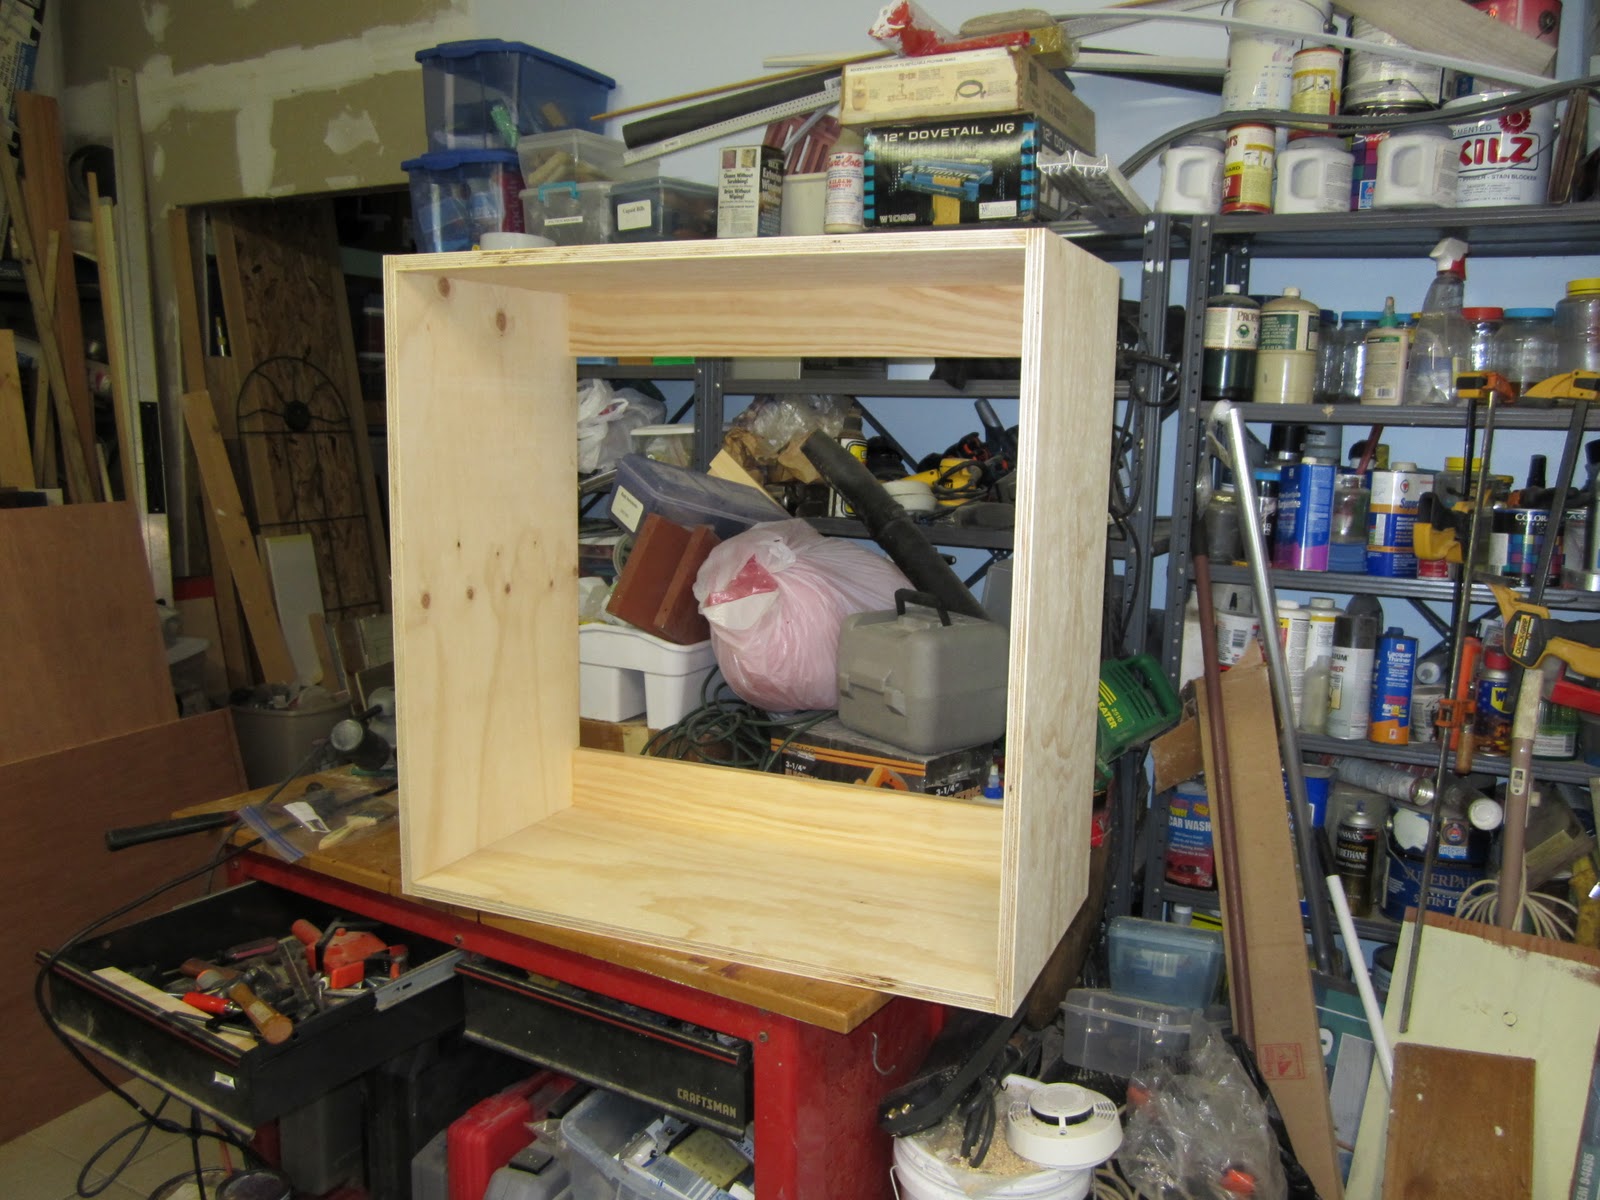
The basic structure of the cabinet is shown in the picture below. A rear view in the construction set below shows the pocket holes on the cleats. The other pocket holes in the design are on the top and bottom surfaces. The plywood used had one side clear and sanded and this surface was used on all visible areas such as the side exteriors.
 |
| Cabinet basic structure |
1/2" poplar cut to 3/4" width was used as front edging of the cabinet walls and attached with glue and brad nails. The backs are covered with 1/4" plywood and attached with 1/2" crown staples. Doors, which will be added later, will be made of 1/2" birch plywood and mounted with overlay partial wrap hinges.
When I started the project HD had just received special order cabinet grade 3/4" plywood for $28. a sheet. I bought one sheet and built a prototype 11 1/2" deep cabinet. The sheet turned out to be reasonable flat and had very few voids, so I bought four more sheets which should give me eight cabinets. I should have bought more, but I don't have the storage space.
BOM
Small Cabinet:
- 2 pieces 27 1/2" by 10 1/2", 3/4" plywood
- 2 pieces 32" by 10 1/2", 3/4" plywood
- 2 pieces 27 1/2" by 3 1/2", 3/4" poplar
- 1 piece 32" by 29", 1/4" plywood
- 2 pieces 29" by 3/4", poplar
- 2 pieces 30 1/2" by 3/4", poplar
Large Cabinet:
- 2 pieces 30 1/2" by 15 1/2", 3/4" plywood
- 2 pieces 32" by 15 1/2", 3/4" plywood
- 2 pieces 30 1/2" by 3 1/2", 3/4" poplar
- 1 piece 32" by 32", 1/4" plywood
- 2 pieces 32" by 3/4", poplar
- 2 pieces 30 1/2" by 3/4", poplar
Step by Step Construction
- Make long cuts for sides, top and bottom 1/4" oversize, then trim to size
- Use a table saw sled to cut ends to length, see sled project.
- Drill pocket holes in top (above) and bottom (underneath) pieces. Holes not visible inside cabinet.
- Screw and glue pieces together. Use squaring blocks while glue is setting.
- Cut cleats to size and drill pocket holes
- Screw and glue cleats in place
- Cut 1/2" poplar to 3/4" width
- Glue and nail poplar to front edge of cabinet.
- Sand cabinet, including front edge
- Round over all cabinet edges using a router and 1/8" round over bit
- Sand all edges lightly
- Seal all surfaces with Bulls Eye SealCoat
- Drill holes for 1/4" shelf pins, I used Rockler jig.
- Cut and nail back in place using 1/4" by 1/2" crown staples
- Cut shelves from plywood, round over edges and sand
- Paint surfaces if desired
- Cut doors from 1/2" birch plywood
Construction Photos
 |
| Sled used to cut sides to length |
 |
| Pocket holes drilled in top and bottom |
 |
| Top being glued and screwed to side |
 |
| Squaring blocks. |
 |
| Back of cabinet showing top and bottom cleats |
 |
| Heavy duty draws for wall cabinets. |
 |
| One draw loaded with nails. |


Hi..good work,gives essential knowledge about the workshop projects and tools.
ReplyDeletewall cabinets